Create a Microenvironment
In this section, you’ll find a step-by-step guide to creating a Microenvironment, configuring settings to align with your brand image and customer expectations. From customizing rules and access permissions to setting up onboarding, each step ensures your Microenvironment is tailored for optimal engagement and operational efficiency.
For each Microenvironment you will configure the Identities, Attributes, Currencies, and Asset tokens individually.
Follow along to build a space that fully supports your project’s unique goals.
Step #1: Create Microenvironment
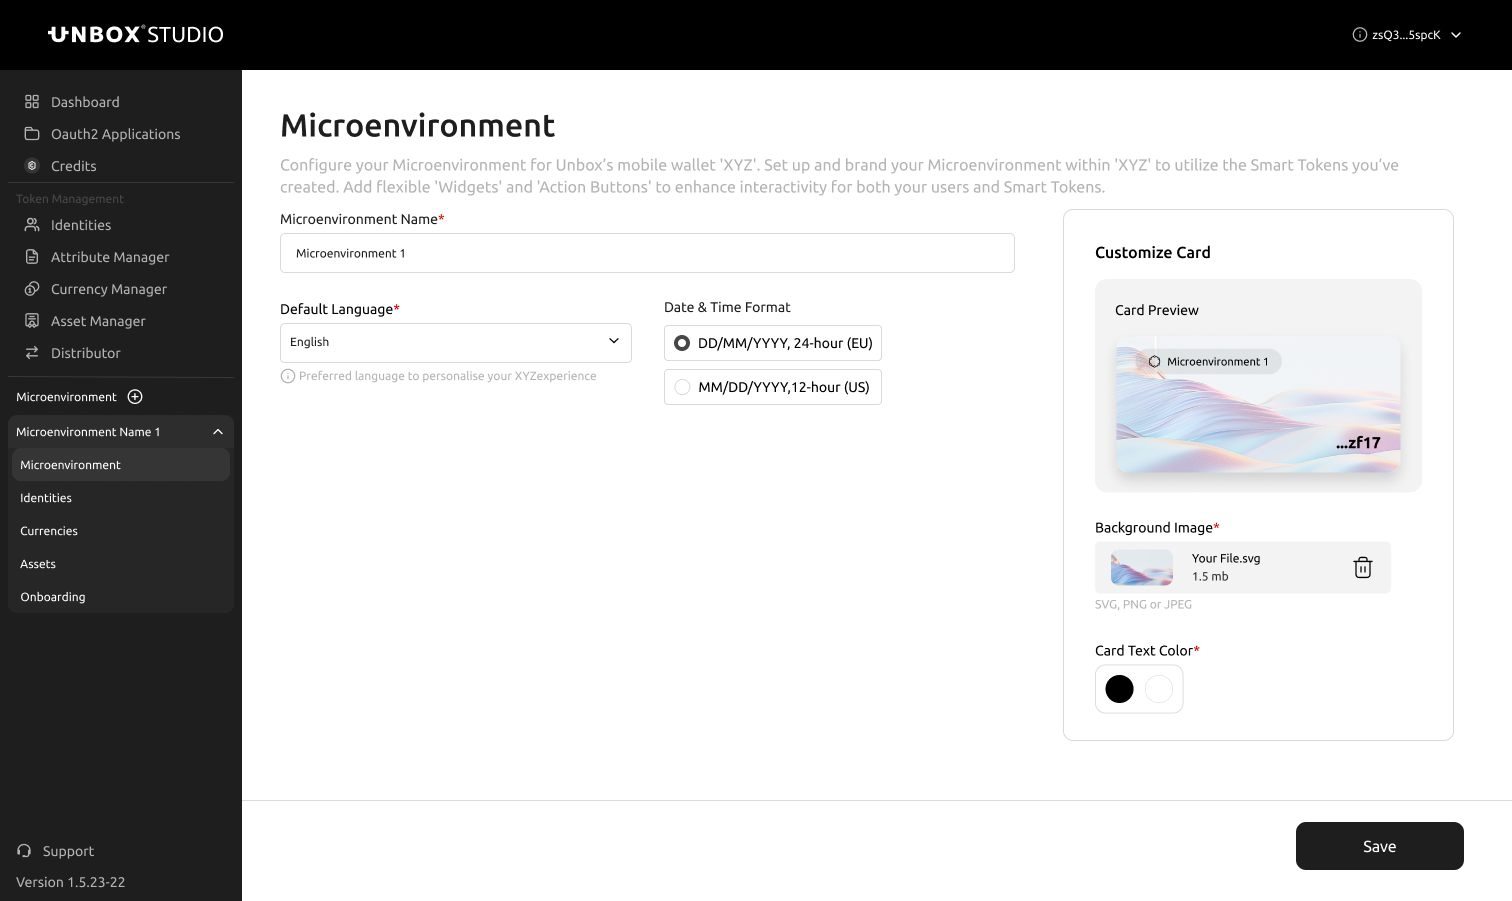
Begin by assigning a name to represent the Microenvironment, selecting the preferred language for your users, and setting the appropriate date format that aligns with your project’s universal standards.

Step #2: Customize Microenvironment Card
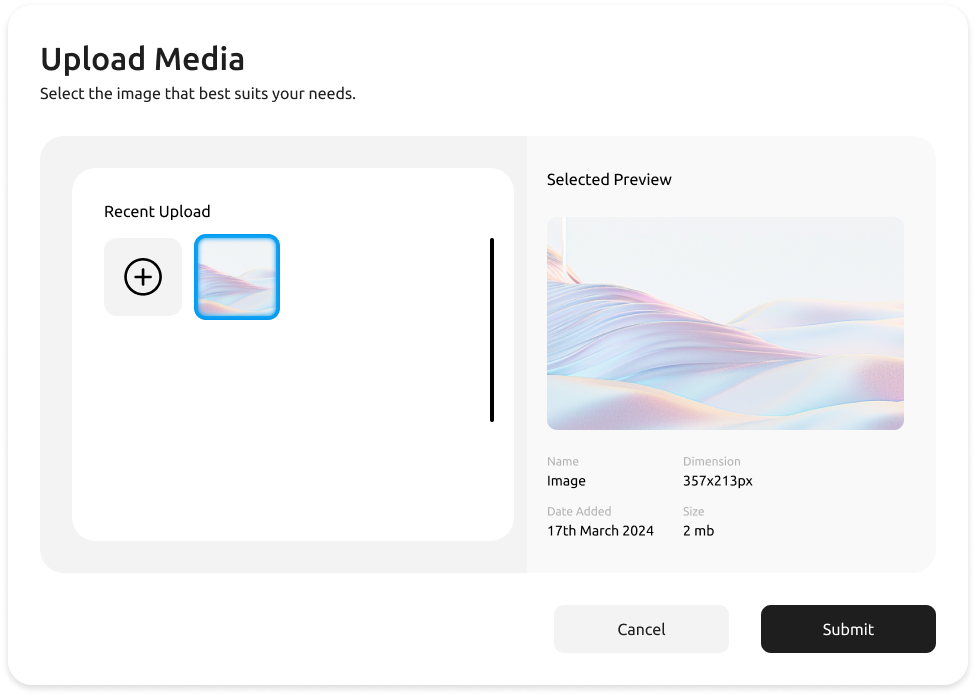
Next, the user will personalize the Microenvironment Card, tailoring it to suit the specific use case and align with the intended branding. Here, you can add a background image and select the text color, creating a unique, branded experience.

Once the user has finished customizing their Microenvironment, click “Save” and proceed to the “Configure Microenvironment” section.